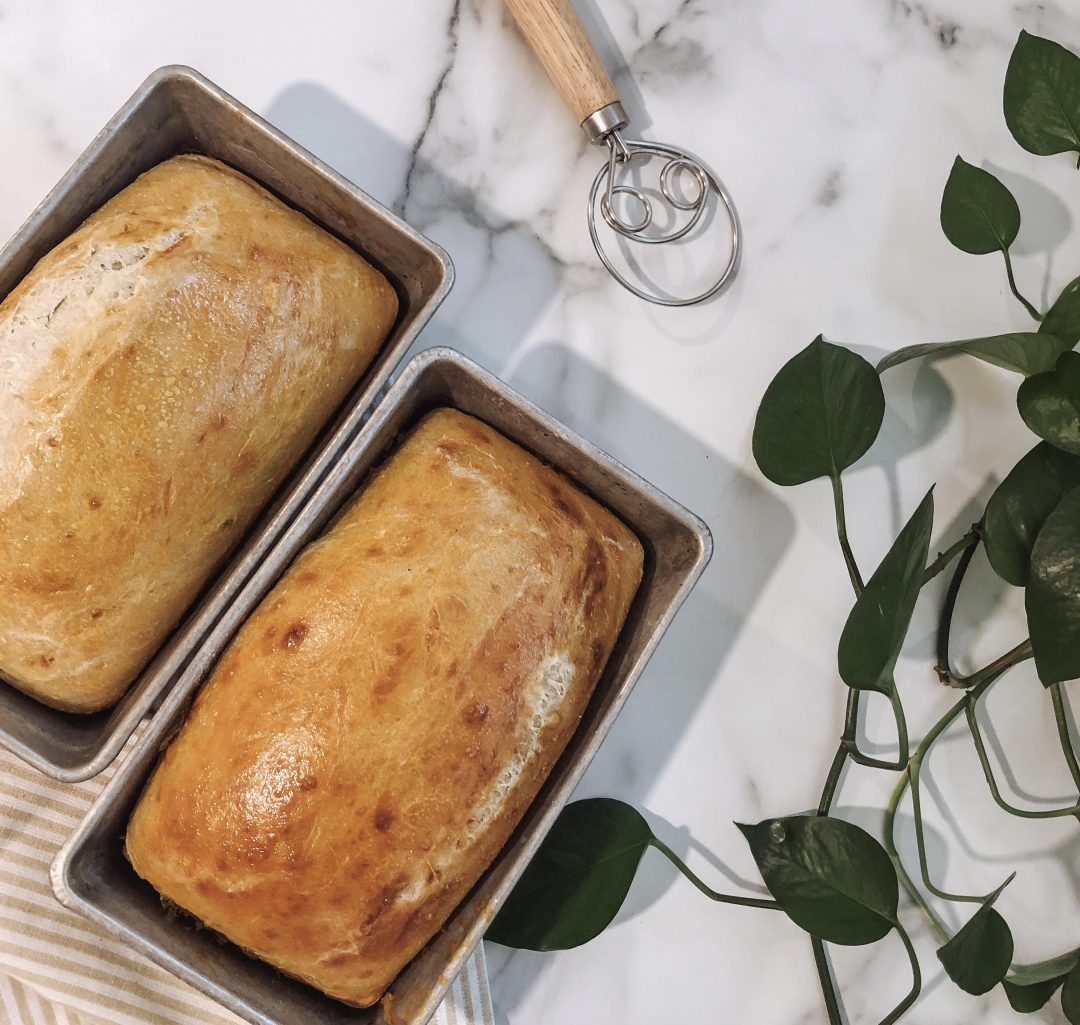
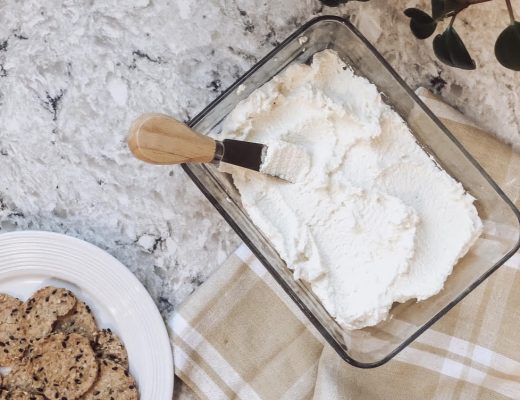
If you’ve ventured into the world of sourdough, you probably can appreciate a simple bread recipe here and there. It is definitely enjoyable trying to create fancy artisan loaves with tasty inclusions but the one recipe that I believe every household needs is a recipe for a sourdough sandwich bread loaf. If there is one thing that learning sourdough has done for me, it’s save money on bread! Sandwich loaves are practical and easier to slice for sandwiches and more. If you want a simple recipe that will fire off two loaves at a time and keep your household stocked with fresh healthy bread, then this one is it!
* This post may include affiliate links. This means that products purchased from certain links will generate a small commission (At no extra cost to you). As always, I will only recommend brands that have passed my seal of approval and that I truly love. Thank you for supporting this little holistic space on the internet. *
As I mentioned above, my first goal in learning sourdough baking was to save money. It has no doubt done that for us as the only ingredients needed are typically your starter, water, flour, and salt. You can’t get much simpler than that! It has certainly saved me money purchasing organic sprouted bread from the store and the best part is that sourdough bread is much healthier than store bought bread. Not only does it not have to contain the preservatives that a store bought bread requires allowing it time to ship, sit on a shelf, and then spend time in your pantry before eating it.. but sourdough is created with a starter filled with billions of gut healthy bacteria. This makes it more digestible for most people who may not otherwise tolerate much bread in their diet. It also has a significantly lower gluten count, doesn’t spike blood sugar the way a conventional loaf would, and it’s fermentation process eliminates the majority of anti-nutrients like phytic acid that is found in most bread and will eat away at your body’s mineral stores.
Overall, I feel that dedicating some time to learning the sourdough process is well worth it. It may not be for everyone and it can be time consuming. But if you can plan around your schedule and dedicate a day to sourdough baking, you will reap the benefits of the ancestral way of baking. In my opinion, the most effort spent making sourdough is during the learning process. Once you have that down, you can adjust your sourdough into your life as needed. I have seen such a huge variety of sourdough baking time stamps from others with different lifestyles showing that it can be done!
Needless to say, you will certainly get your effort repaid with this process. You don’t even necessarily need to learn how to make all those fancy loaves to be a success. A simple sandwich loaf is most practical and in my opinion, the easiest to bake! Part of the reason a sandwich loaf is an easier process comes down to the baking pans. Many new bakers find it difficult to get the proper “spring” in their loaves when baking. The spring is the rise that occurs when the loaf is in the oven baking. Due to the structure of a bread loaf tin, the spring is much easier to achieve. It cradles the sides of the dough and gives it no where to go but up! This is a huge reason why I think many beginner bakers may get more satisfaction in baking this type of bread. You don’t need to be quite as finicky with the dough, although over time you will learn how to read your dough and develop that perfect spring regardless of the type of bread you choose to bake.
So without further adieu, here is my simple sandwich loaf recipe. Sandwich loaves sometimes require an extra ingredient or two. I’ve seen many use sugar, eggs, and many other things to achieve a sturdier loaf. I prefer to use whole milk to give the sandwich loaf a little more structure. This also helps to achieve a better slicing cut for things like sandwiches.

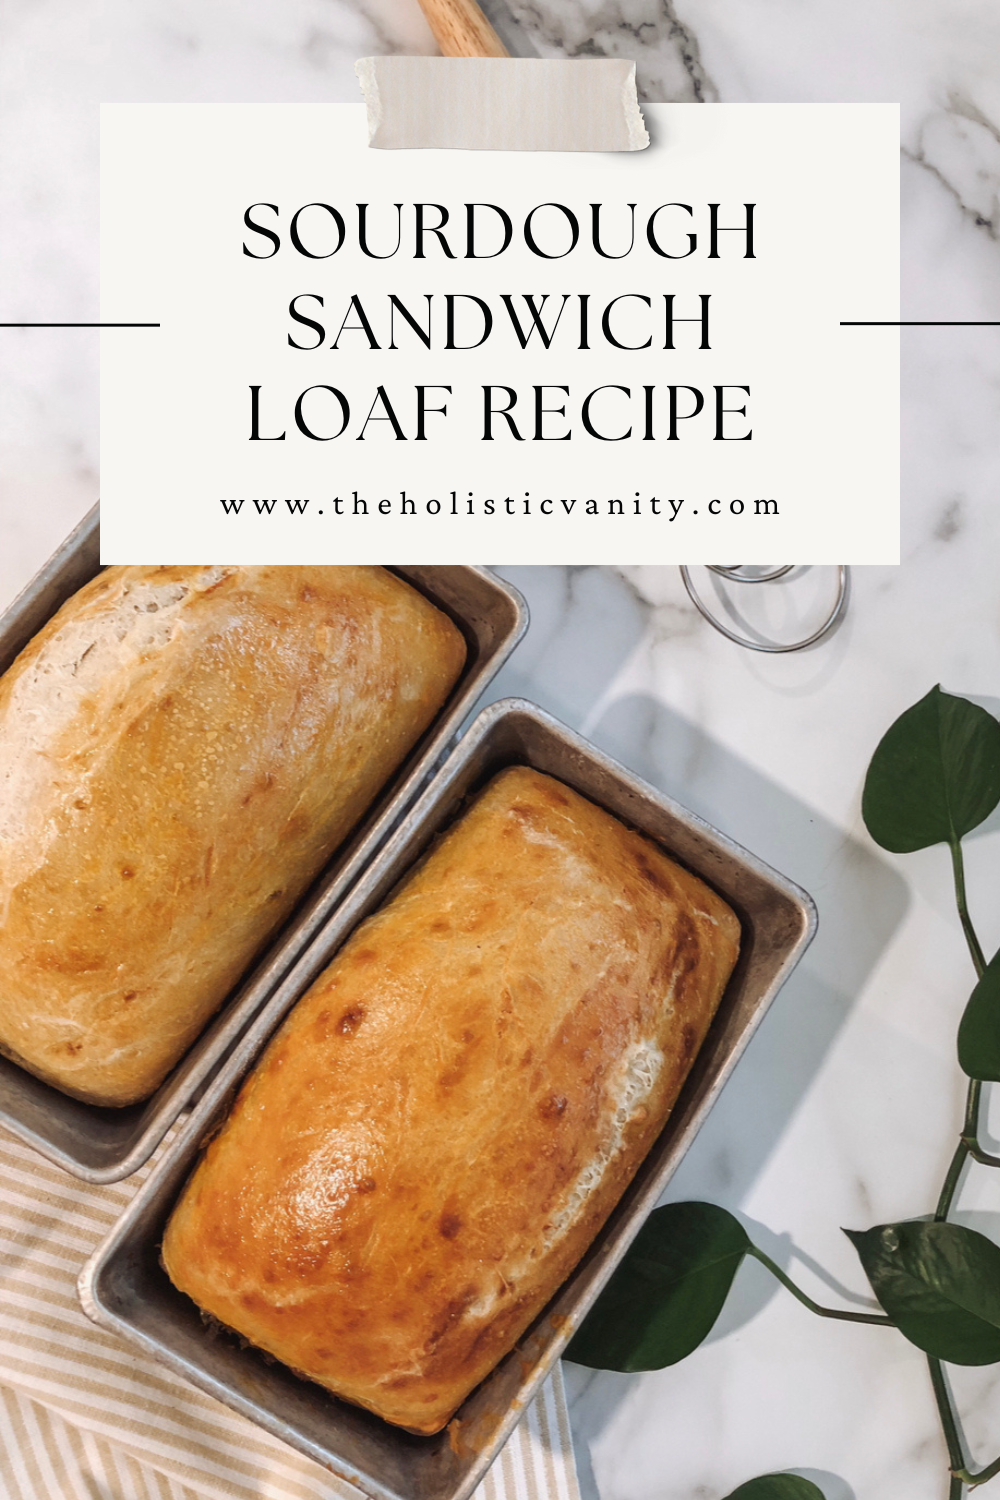
Simple Sourdough Sandwich Bread
Ingredients
Equipment
Method
- Once your starter has peaked, add it to a large mixing bowl with your water and whisk until dissolved
- Add flour and warm milk and mix to create a shaggy dough. Cover the bowl with a damp dish cloth and place somewhere slightly warm (ie. in oven with the light turned on). Let the dough rest for 30 minutes.
- After 30 minutes, add your salt mixed with about 10g. of water to dissolve it into the dough and mix well.
- Perform your first set of stretch and folds, cover the bowl with the damp kitchen towel and back to resting for 45-60 minutes.
- Perform 2-3 more sets of stretch and folds every 45-60 minutes allowing the dough to rise between sessions covered with damp kitchen towel. ( Note: Do not allow this process to exceed 6 hours. Somewhere between 4-6 hours is the perfect time for the dough to rise in room temp or warm environment before shaping and cold proofing)
- After your dough has had some time to rest following its last set of stretch and folds, dust your counter with some rice flour and plop the dough onto the counter.
- Cut the dough into two even pieces
- Form and shape your dough into the shape of a rectangle loaves. Ensure you create some tension.
- Place your shaped loaves into greased baking pans (You can use butter to grease the tins to ensure the bread will remove easier after baking).
- Cover the baking pans with plastic to keep the loaves safe in the fridge. Place your pans into the fridge overnight for cold proofing. I typically allow them to cold proof for no more than 12-14 hours for the best spring.
- In the morning, take your loaves out of the fridge and score each loaf. Spread some egg wash (egg yolk) over the top of the loaf before baking.
- Preheat your oven to 375 degrees and bake each loaf for 45 minutes.
I hope you enjoy the satisfaction of baking your own healthy loaves of sandwich bread. It is such an accomplishment when you can make your own foods with your own hands. Just the knowledge of how to create your own food staples is such an important skill to have. The baking loaves I use are vintage passed down from my Grandmother but I highly recommend these ceramic non toxic loaf pans or these all clad stainless steel loaf pans for those who need one or two. You can also have a peek at my shop page that is filled with all of my favorite non-toxic products including kitchen gadgets to help you find safer options to add to your kitchen.
** PIN this image to save the recipe for later **
1 Comment
[…] by approximately 60%. You can have a look at some of my simple sourdough recipes like my Easy Sourdough Sandwich Bread or my Simple Sourdough Discard Tortilla. Recipes like this offer a viable solution to reducing the […]